
 Tiếng Việt
 ไทย
ไทยOne-sun dried squid has long been a beloved specialty across all three regions of Vietnam, but not everyone knows that it can be easily made at home. If you are looking for how to make one-sun dried squid from selecting fresh squid, preparation, and sun-drying to storage, this article will guide you through each specific step. Let’s prepare the ingredients and start making this specialty at home by following the instructions below.
What is one-sun dried squid? How does it differ from regular dried squid?
Many people confuse one-sun dried squid with regular dried squid, but in reality, these are two completely different products in terms of drying process, texture, and flavor.
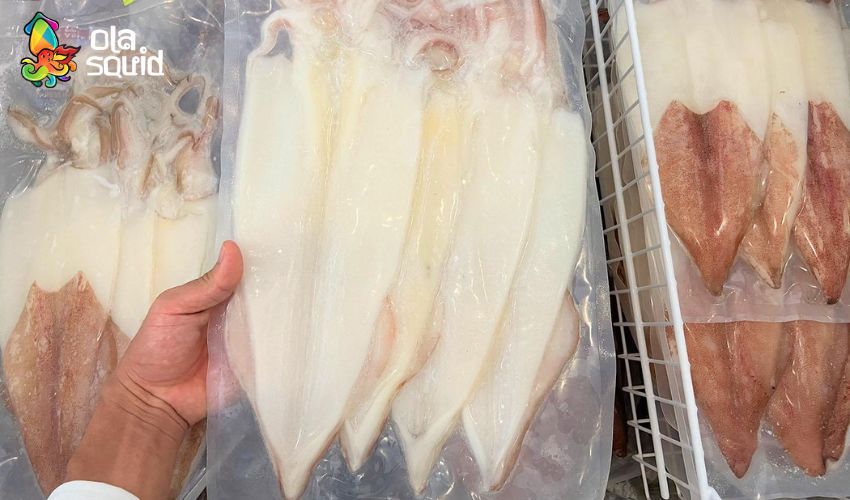
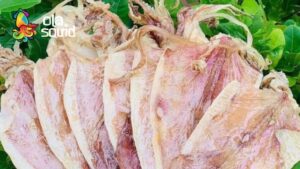
One-sun dried squid is fresh squid that has been prepared and then dried under intense sunlight for about 4 – 8 hours. The final product still retains a certain level of moisture, with chewy, sweet meat, a natural ivory-white color, and a subtle sea scent. This is a semi-dried state, not fully dehydrated squid.
Regular dried squid is dried or dehydrated for many days until all moisture is removed, resulting in tough meat, a darker color, and the ability to be stored at room temperature for many months.
| Criteria | One-sun dried squid | Regular dried squid |
| Drying time | 4 – 8 hours | 2 – 4 days or many hours of dehydration |
| Remaining moisture | ~40 – 50% | <15% |
| Texture | Chewy, soft, slightly moist | Hard, dry, fibrous |
| Flavor | Fresh sweet, mild sea aroma | Rich, saltier |
| Storage time | 3 – 7 days (chiller), 1 – 2 months (freezer) | 3 – 6 months (chiller), 6 – 12 months (freezer) |
| Common preparation | Grilling, frying, stir-frying | Grilling, steaming, salad making |
See more: Update latest one-sun dried squid prices, where to buy the best quality?
Criteria for selecting fresh squid to make one-sun dried squid
The success of one-sun dried squid depends 70% on the quality of the initial ingredients. Substandard fresh squid will result in a product with a fishy smell, dull color, and mushy texture – no matter how correctly you follow the drying technique.
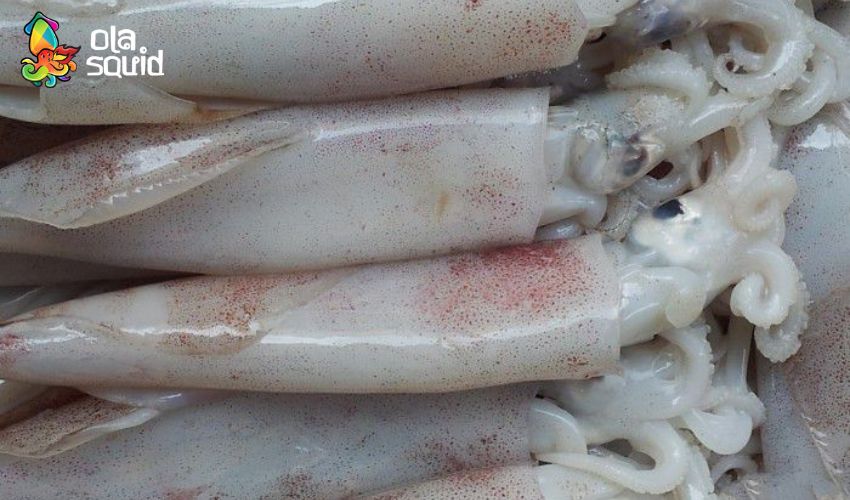
When choosing squid, prioritize buying at early morning seafood markets or from facilities with direct supplies from fishing boats. Squid caught within the day usually has the best quality for making one-sun dried squid, as the meat is firm, has high sweetness, and shrinks less during drying.
Signs of quality fresh squid:
- Color: The squid body is opaque white or slightly light pink, the outer skin is intact, without peeling or turning brownish-gray.
- Smell: Natural sea scent, faint, without ammonia, sour, or overly fishy odors.
- Elasticity: Press on the squid body; the meat should be elastic, immediately returning to its original shape without being dented or mushy.
- Eyes: Still clear and bright, not cloudy or deeply sunken.
- Tentacles and head: Still firmly attached to the body, not loose or slimy.
- Ink sac: Still intact, not broken; if the ink sac is broken, it can still be used, but it needs immediate processing.
Regarding the type of squid, squid tubes and broad squid can both be used for one-sun dried squid, however, each type offers a different flavor and texture.
Tools needed to prepare for drying squid
There is no need to invest in many specialized pieces of equipment; you can absolutely make one-sun dried squid with simple tools available at home.
Basic tools required:
- Sharp knife and a clean cutting board to slice the squid evenly, avoiding tearing the meat.
- A large basin of water to rinse the squid multiple times and soak during preparation.
- Bamboo or stainless steel skewers to stretch the squid body while drying, helping it dry evenly.
- Stainless steel mesh trays or drying racks to lay the squid flat, allowing airflow on both sides.
- Fly/insect screen is mandatory if drying outdoors, to prevent flies from landing on it.
- Clean trays or platters to catch the squid and allow it to drain before drying.
- Food-safe gloves to maintain hygiene during preparation and handling.
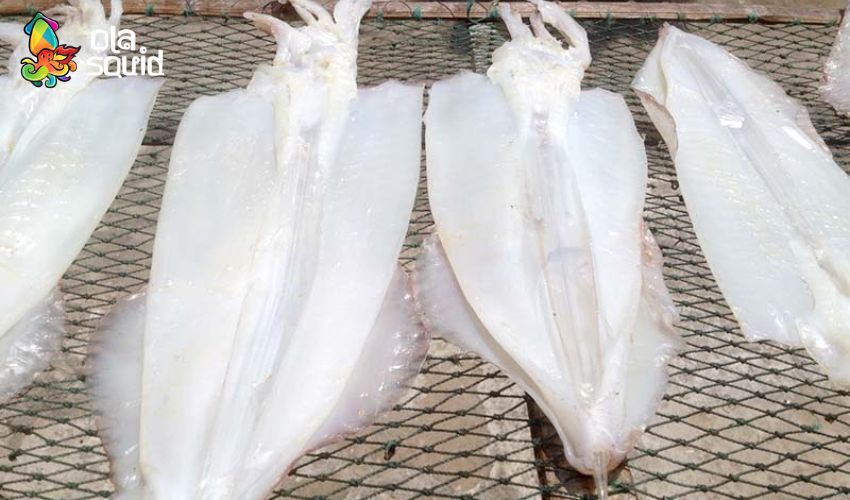
Detailed method for making one-sun dried squid
The process for making one-sun dried squid consists of 4 main steps, each with important technical points to note so that the final product reaches the best quality.
Step 1: Preparing the squid – correct cutting and cleaning technique
Cleaning the squid correctly is essential to ensure it is not fishy or bitter after drying. Many people skip this step or rush through it, leading to a final product with an unpleasant smell.
Preparation process:
- Initial wash: Rinse the squid under cold running water to remove impurities on the outside.
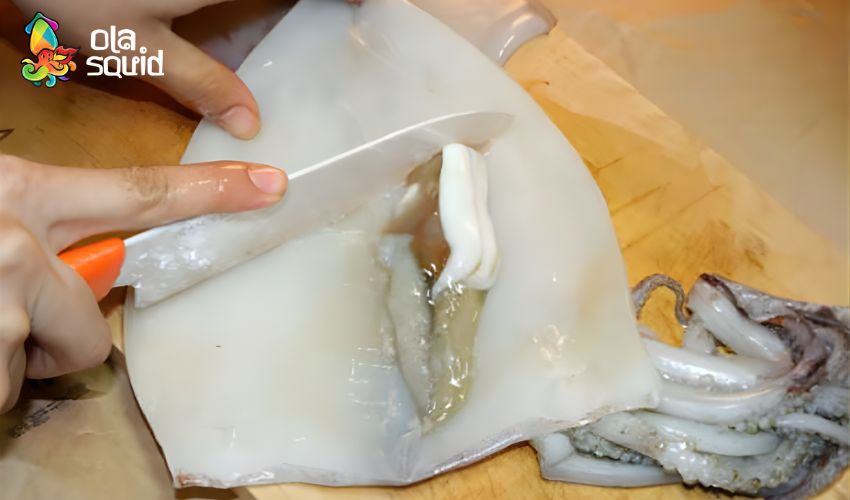
- Separate head and tentacles: Gently pull the head from the body; the ink sac will come along with it. If you want to keep the head for drying together, remove the hard beak and eyes.
- Remove quill: Insert 2 fingers into the squid body to pull out the transparent quill.
- Peel the skin: Peel off the purple/red membrane on the outside of the squid body, or you can keep it if you want to maintain a beautiful color.
- Slit the squid: Use a knife to slit the squid body along a straight line from top to bottom. For larger squid (over 300g), it is recommended to make a few light diagonal scores on the inside so the squid dries evenly and faster.
- Rinse again: Rinse thoroughly under cold water, especially inside the body, until the water runs clear.
- Drain: Place the squid on a tilted tray or mesh rack for 15 – 20 minutes to drain completely before drying.
Step 2: Choosing the time and location for drying
The drying time directly affects the quality of the final product. One-sun dried squid reaches its highest quality when dried during the best sunlight hours of the day.
Ideal time:
- Start drying at 8 – 9 AM, when the sun is warm enough but not too intense.
- Collect the squid at 4 – 5 PM, before evening humidity rises.
- Total ideal drying time: 6 – 8 hours in good sunny conditions at temperatures of 30 – 38°C.
Good drying location:
- Places with direct sunlight and good airflow, such as balconies, rooftops, or gardens, are all suitable.
- Avoid drying near kitchen areas, vehicles, or dusty locations.
- Place the drying rack at least 50cm above the ground to utilize wind and avoid ground insects.
Step 3: Standard squid drying technique
This is a step that many people often do wrong, resulting in the squid drying unevenly or being hard on one side and soft on the other.
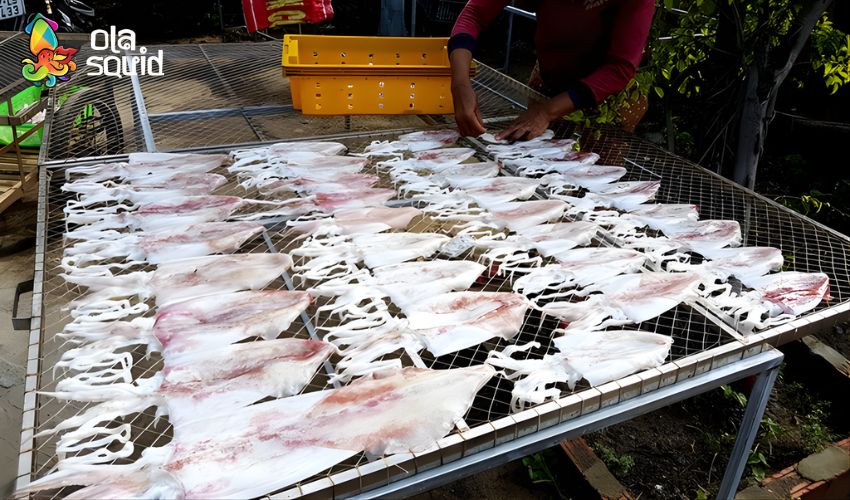
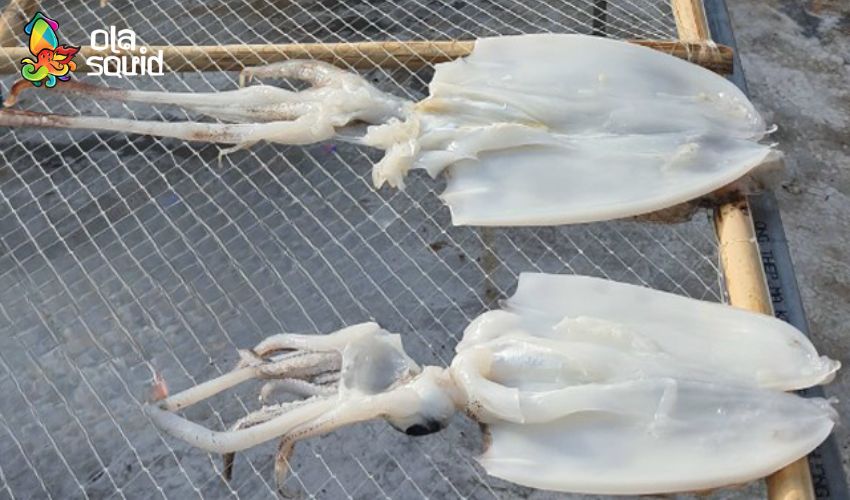
- Stretch the squid: Use small bamboo sticks or skewers to stretch the squid body, keeping it from curling up during the drying process. This technique helps the squid dry evenly and maintains a beautiful shape.
- Lay flat: Arrange the squid on the mesh tray, with the inner side facing up to catch direct sunlight for the first 2 – 3 hours.
- Flip the squid: After 2 – 3 hours, flip the squid so the skin side catches the sun, avoiding letting one side become overly dry.
- Protect from intense heat: If the outdoor temperature exceeds 40°C, it is recommended to cover it slightly with a thin mesh to avoid the surface drying too hard while the inside has not yet released moisture.
- Check dryness: The squid is standard when the surface feels slightly sticky but not wet to the touch, and the body remains soft and pliable when bent slightly without breaking.
Step 4: Collecting the squid and post-drying treatment
After drying for the required time, collect the squid during the cool afternoon, avoiding leaving it outside after sunset because increased atmospheric humidity will cause the squid to reabsorb moisture.
- Let the squid cool completely at room temperature for 30 – 60 minutes before putting it into a bag.
- Do not put warm squid into a sealed bag immediately because the heat will create condensation, causing mold.
- Once cooled, the squid can be used immediately or stored in the refrigerator chiller.
How to store homemade one-sun dried squid
Proper storage helps the squid retain its delicious flavor and prevents spoilage – this is especially important if you are making a large quantity or want to save it as a gift.
Short-term storage (under 1 week)
If you plan to use it within 3 – 5 days, you can store the one-sun dried squid in the refrigerator chiller by:
- Putting the squid into a zip-lock bag or a sealed plastic container, removing excess air before closing.
- Not letting the squid come into direct contact with water or ice.
- Squid in the chiller can keep for 5 – 7 days while still maintaining quality.
Long-term storage (up to 3 – 6 months)
For long-term storage, the freezer is the best choice, and you should:
- Divide the squid into small portions enough for one meal before freezing, avoiding thawing and refreezing multiple times.
- Wrap the squid in food wrap, then put it into a zip-lock bag, vacuum sealing if you have a machine.
- Write the production date on the bag to track the expiration date.
- Frozen squid can be stored for 3 – 6 months with almost no change in flavor.
- When ready to use, thaw in the chiller overnight; do not thaw at room temperature to prevent bacterial growth.
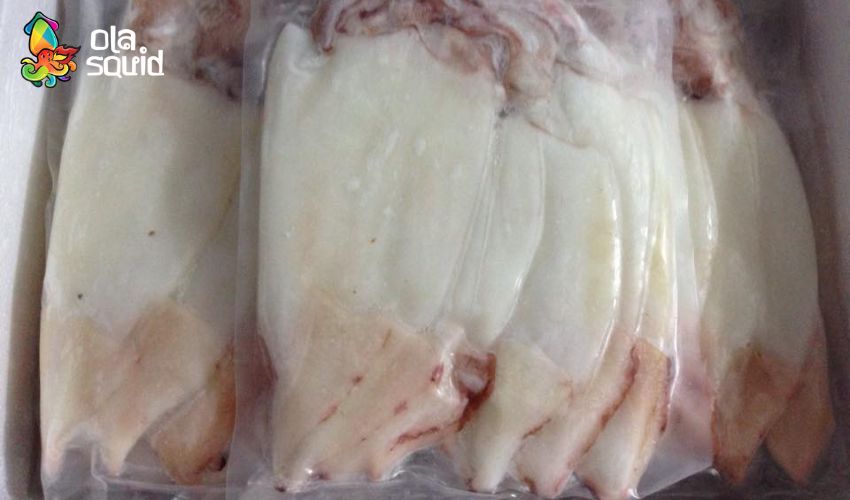
How to package homemade one-sun dried squid for gifting
Homemade one-sun dried squid is a unique and meaningful gift, especially during Tet or for relatives far away. To package it nicely, follow these steps:
- Use vacuum bags to extend storage time and maintain the squid’s shape.
- Place the squid bags into kraft paper boxes or small wooden boxes, including silica gel desiccant packs.
- Attach a label clearly stating the product name, production date, storage instructions, and expiration date.
- If sending over a long distance, it is recommended to include gel ice packs to keep the squid cool during transportation.
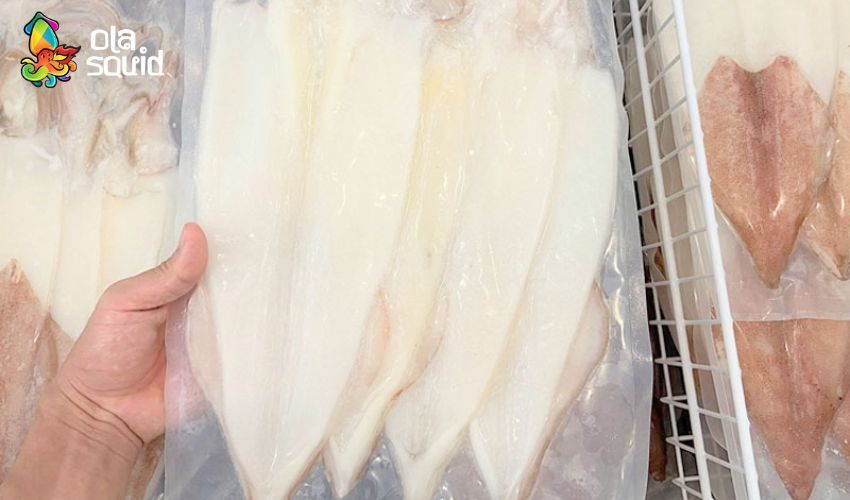
What are some delicious dishes to make with one-sun dried squid?
One-sun dried squid is very versatile in cooking and extremely convenient. So, what are some delicious dishes to make with one-sun dried squid? Below we will introduce you to the most popular dishes made from one-sun dried squid:
- Charcoal grilled or griddle grilled: The most common way to enjoy it. Perfectly grilled one-sun dried squid is fragrant and savory, dipped in chili-lime salt or chili sauce—a flavor that is hard to compare.
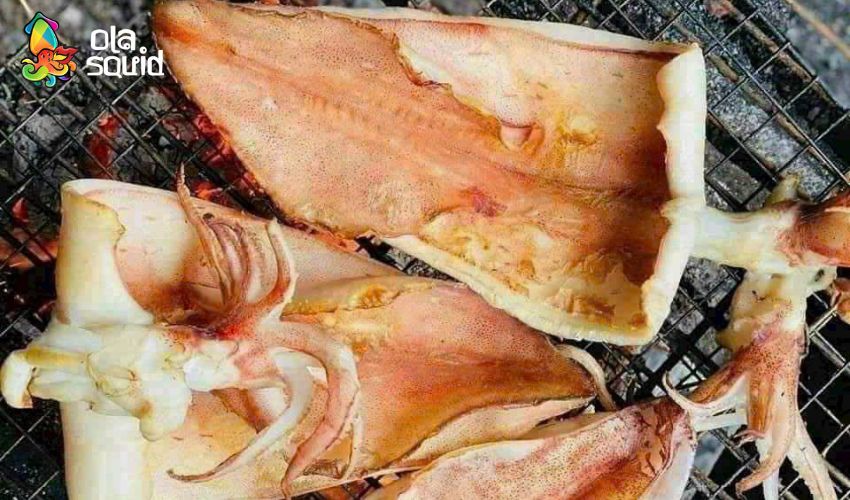
- Crispy fried squid: Fry the one-sun dried squid in hot cooking oil for about 2 – 3 minutes until golden brown. The result is a crispy exterior with chewy, sweet meat inside, making it a perfect snack.
- Stir-fried with lemongrass and chili or stir-fried with garlic butter: Slice the squid into rings or bite-sized pieces, stir-fry quickly with lemongrass, chili, and garlic. A rich, savory dish that is incredibly appetizing and only takes 10 minutes to complete.
- One-sun dried squid salad: Combine thin slices of grilled squid with green mango, aromatic herbs, and roasted peanuts to create a refreshing, flavorful taste.

- Steamed with ginger: Steam for about 5 – 7 minutes with ginger slices, drizzle with ginger-scallion dipping sauce—a cooking method that perfectly preserves the natural sweetness of the squid.
How to make one-sun dried squid without sun
Weather conditions are not always favorable, especially during the rainy season or on overcast days. Here are two effective alternatives for making one-sun dried squid when there is no sun.
Using a dehydrator or food dryer
A food dehydrator is the best solution when there is no sun, producing a result almost identical to outdoor drying but ensuring better hygiene than drying outside.
- Drying temperature: Set to 55 – 65°C.
- Drying time: About 3 – 5 hours depending on the thickness of the squid and the capacity of the machine.
- Arrangement: Arrange the squid in a single layer on the drying tray, not overlapping, to ensure even airflow.
- Check: After 3 hours, check moisture levels by bending slightly; the squid is ready when it is pliable and the surface is no longer wet.
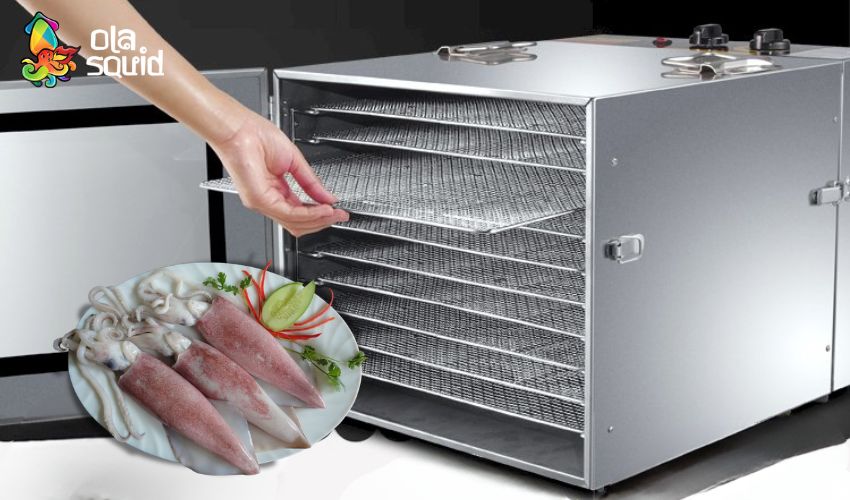
If using an oven as a substitute, set the temperature to 60°C and leave the oven door slightly open (about 2 – 3cm) for moisture to escape. This method is less effective than a dehydrator but still yields acceptable results.
Using a fan combined with light sun
On days with light sun or good breeze, you can use this method:
- Place the squid rack in the windiest location like a rooftop or a windy-facing balcony.
- Use an electric fan to blow lightly from a distance of 50 – 70cm to accelerate moisture evaporation.
- The time required will be longer than normal, about 8 – 12 hours instead of 6 – 8 hours.
- The resulting squid will be slightly less fragrant but still reaches the appropriate moisture level.
Common mistakes and tips when making one-sun dried squid at home
Although the process is not too complicated, many people still encounter some mistakes that prevent the final product from reaching the desired quality. Ola Squid has summarized the most common mistakes for you to avoid:
- Drying squid that hasn’t been drained: Excess moisture causes the squid to dry slowly, become slimy, and smell. Always let it drain for at least 20 minutes before drying.
- Not stretching the squid: Squids curling during the drying process make the folded parts dry unevenly, becoming prone to mold inside.
- Not covering with fly screen: Flies landing on the squid not only are unhygienic but also leave eggs, causing the squid to spoil quickly.
- Collecting too late: Leaving the squid outside after the sun goes down causes it to reabsorb moisture, and the surface becomes slimy.
- Storing while still warm: Heat inside a sealed bag creates conditions for bacteria and mold to grow.
- Choosing squid that isn’t fresh enough: This is the primary reason for an unpleasant fishy odor even when the technique is performed correctly.
- Drying too long or in excessively intense sun: The squid dries completely hard, losing the characteristic chewy and soft texture of one-sun dried squid.
Frequently Asked Questions (FAQ) about how to make one-sun dried squid
How long is enough for drying one-sun dried squid?
In good sunny conditions (30 – 38°C, little cloud cover), one-sun dried squid needs to dry for 6 – 8 hours continuously. The sign of a finished product: the surface is slightly sticky but not wet, the body is pliable when bent, and the color is naturally ivory-white, not yellow or transparent.
Can you make one-sun dried squid without intense sun?
Absolutely. You can use a food dehydrator at 55 – 65°C for 3 – 5 hours, or combine a fan with light sun for 8 – 12 hours. The result may slightly differ in flavor (lacking the characteristic sunny aroma) but in terms of moisture and texture, it still meets the standard for one-sun dried squid.
Between squid tubes and broad squid, which is better for one-sun dried squid?
Both are delicious in different ways. Squid tubes are thick, chewy, and sweet, suitable for grilling and frying. Broad squid meat is thinner, softer, and has a slight richness, suitable for stir-frying and making salads.
Why does homemade one-sun dried squid become hard even after drying for just one day?
The most common reason is intense sun (over 40°C), causing the squid surface to dry quickly, which leads to sudden hardening of the outer protein layer while the inside hasn’t yet released moisture.
Additionally, losing too much moisture before drying is also a cause. Therefore, it is recommended to cover it slightly with thin mesh during peak sun hours (11 AM – 2 PM) and start drying later (9 AM – 10 AM).
How to make one-sun dried squid is not complicated if you master the correct technique from selecting ingredients, preparation, and drying to storage. The key lies in three factors: high-quality fresh squid, appropriate drying time, and controlling the final moisture content. By doing it right, you will have a batch of fragrant, chewy, and naturally sweet one-sun dried squid that is just as good as anything bought in a store, while ensuring hygiene and significant savings. If you are looking for a source of quality seafood to prepare delicious squid dishes, check out the products at Ola Squid store.