 Dried squid
 Flattened dried squid
 Seasoned Shredded Squid
 Dried squid snack
 Tiếng Việt
 ไทย
ไทยShredded dried squid is an attractive snack with chewily tender, flavorful, and fragrant strands of squid. Instead of buying pre-made products, you can make it yourself at home to actively choose the ingredients and adjust the flavor to your preference. In the article below, Ola Squid will guide you through how to make shredded dried squid simply, deliciously, and easily.
Ingredients to Prepare
To make the shredded dried squid flavorful without being overly sweet or spicy, you should prepare ingredients in moderate quantities. The recipe below is suitable for about 3 – 4 servings:
| Ingredients | Quantity |
| Dried squid | 300g |
| Chili sauce | 2 tbsp |
| Fish sauce | 1 tbsp |
| Sugar | 1 tbsp |
| Oyster sauce | 1/2 tbsp |
| Chili powder | 1/2 tsp |
| Garlic | 3 cloves |
| Lemongrass | 1 stalk |
| Cooking oil | 1 tbsp |
| Filtered water | 2 tbsp |
| Roasted sesame seeds | 1 tsp |
You can increase or decrease the amount of chili sauce, chili powder, and sugar according to your taste. If you like a fragrant spicy taste, you can add a little satay sauce or finely minced fresh chili.
How to Choose Delicious Dried Squid
Dried squid is the main ingredient that determines the fragrance, chewiness, and natural sweetness of the dish. When choosing squid, you should prioritize squids with a dry body, clean surface, natural color, and characteristic aroma, without any bad odor or signs of mold.
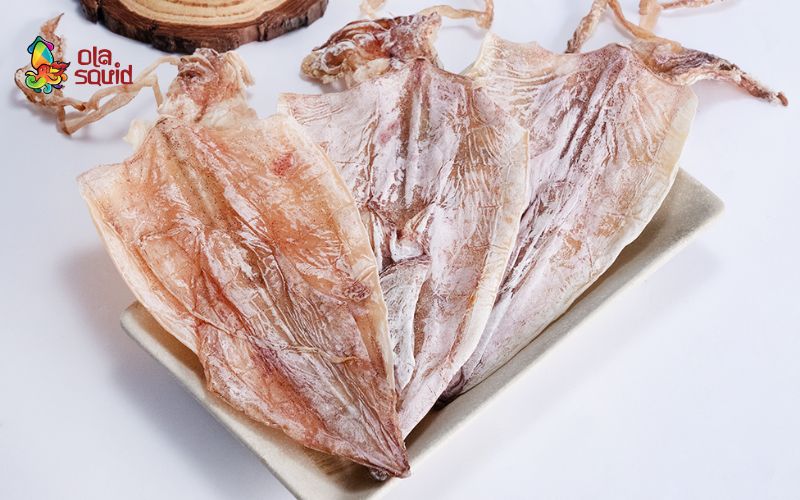
Squid with a moderately thick body usually yields chewy, tender strands and is easier to shred after roasting. The body should be firm, not overly soft, damp, or watery. A natural white powdery layer on the surface can also appear on good-quality dried squid, but it should not be confused with abnormal white patches caused by mold.
If buying packaged squid, you should carefully check the packaging, expiration date, origin information, and storage conditions. Choosing tightly sealed products will be more convenient for storage and limit the squid’s exposure to moisture during transport.
See more: How to choose delicious dried squid like experienced fishermen
Steps to Make Shredded Dried Squid
To make shredded dried squid with a moderate tender chewiness and evenly absorbed seasoning, you can follow the steps below:
Step 1 – Prepare the Dried Squid
Use a clean towel or paper towel to gently wipe the surface of the squid to remove dirt. You should not soak dried squid in water for too long as it can lose its natural sweet taste and cause the squid meat to become mushy.
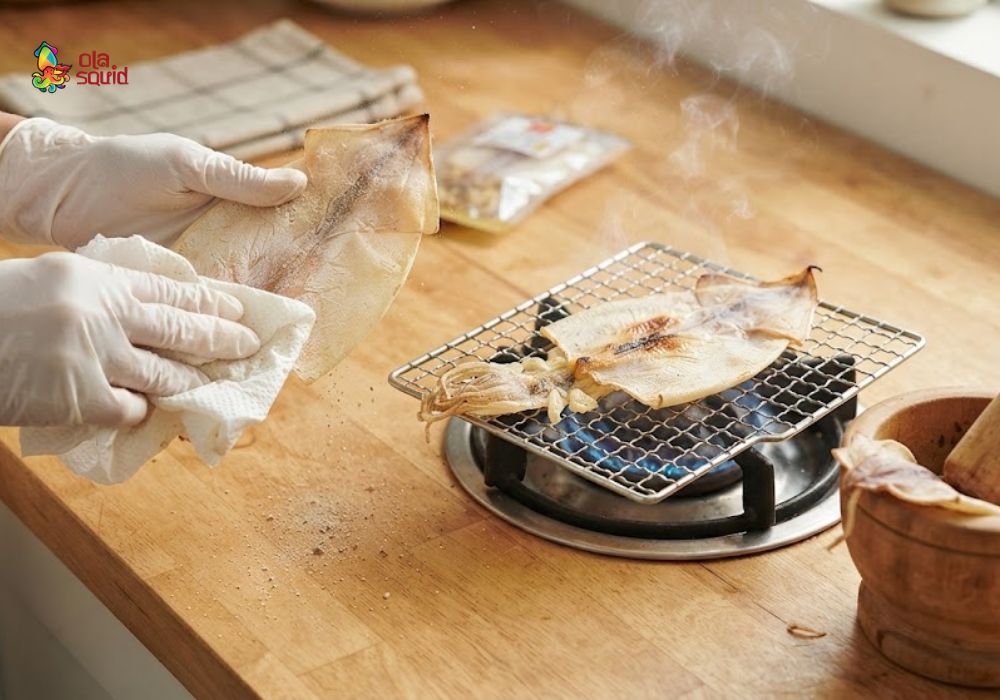
Place the squid on a grill rack and roast over low to medium heat for about 1-2 minutes per side, depending on the thickness of the squid body. When the squid just releases a fragrant aroma, the body curls slightly, and it reaches a certain softness, remove it. You can also dry sear it in a pan for a short time if you do not use a charcoal stove.
Reference: 5 ways to grill dried squid authentically right at home
After roasting, use a pestle or knife handle to gently pound the squid body so the meat fibers loosen. You should not pound too hard as it can shatter the squid and make it difficult to shred into long strands.
Step 2 – Shred Squid into Strands
While the squid is still warm, use your hands to tear along the grain of the meat into bite-sized strands. Shredding along the grain helps the squid strands stay long, fluffy, and have a natural tender chewiness.
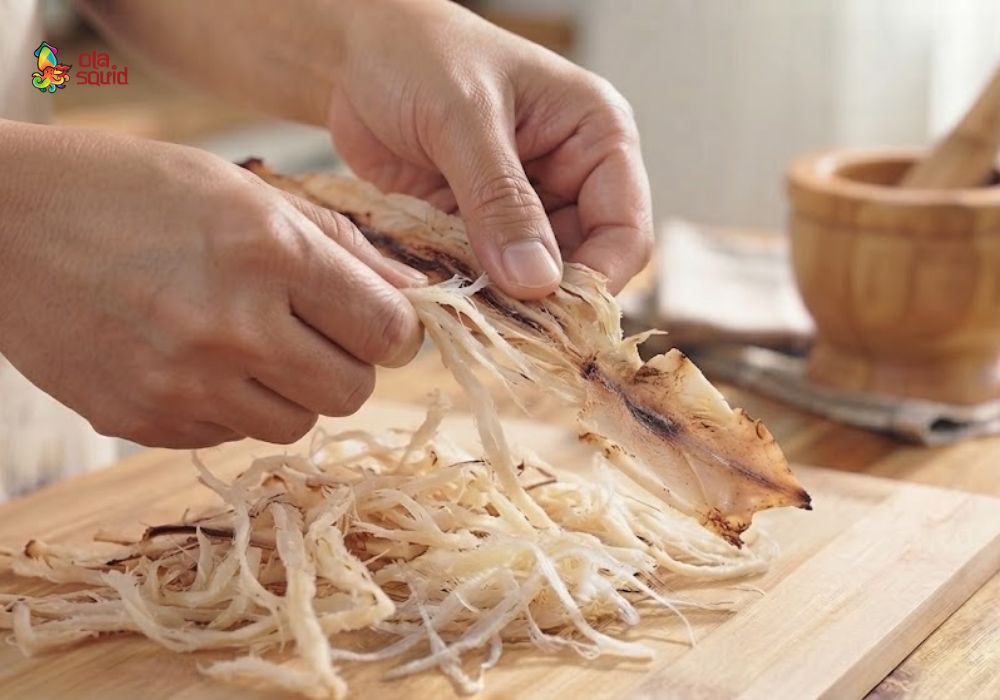
If the squid body is thick, you can shred it into smaller strands so the seasoning adheres easily. The tentacle part can also be kept and cut into bite-sized pieces instead of being shredded completely into strands. You should not wait until the squid cools completely before shredding, because the squid meat at that point is usually firmer and tougher, making the shredding process take much more time.
Step 3 – Mix the Sauce and Marinate Seasonings
Add 2 tablespoons of chili sauce, 1 tablespoon of fish sauce, 1 tablespoon of sugar, 1/2 tablespoon of oyster sauce, 1/2 teaspoon of chili powder, and 2 tablespoons of filtered water into a small bowl. Stir well to dissolve the sugar and blend the seasonings together.
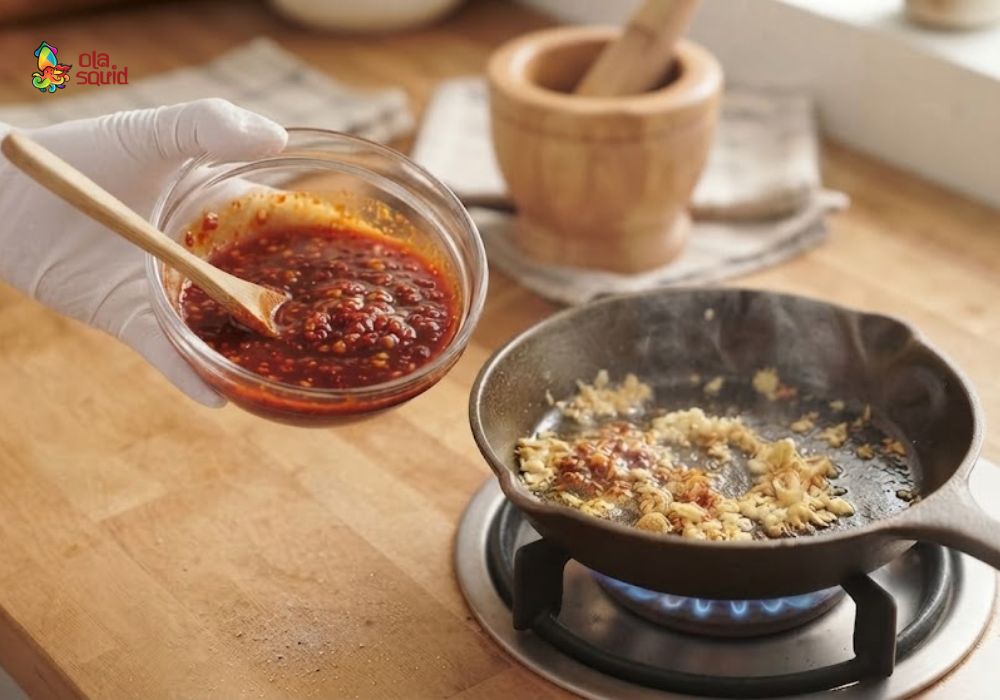
Place a pan on the stove, add 1 tablespoon of cooking oil, then sauté minced garlic and minced lemongrass until fragrant. When the ingredients release their aroma, pour in the mixed sauce and simmer over low heat for about 1-2 minutes until the mixture slightly thickens.
Taste the sauce before mixing it with the squid. If you prefer a spicy taste, you can add more chili powder; if you want a milder flavor, slightly increase the amount of sugar or filtered water.
Step 4 – Toss the Squid Evenly with the Sauce
Add the shredded squid to the sauce pan while the sauce is still hot. Use chopsticks to stir gently and continuously over low heat so the sauce coats each strand of squid evenly. You should only stir for about 2-3 minutes, until the squid absorbs the seasonings and the sauce evenly clings to the outside, then turn off the heat. Do not cook for too long because high heat can cause the squid to lose moisture and become tough and hard.
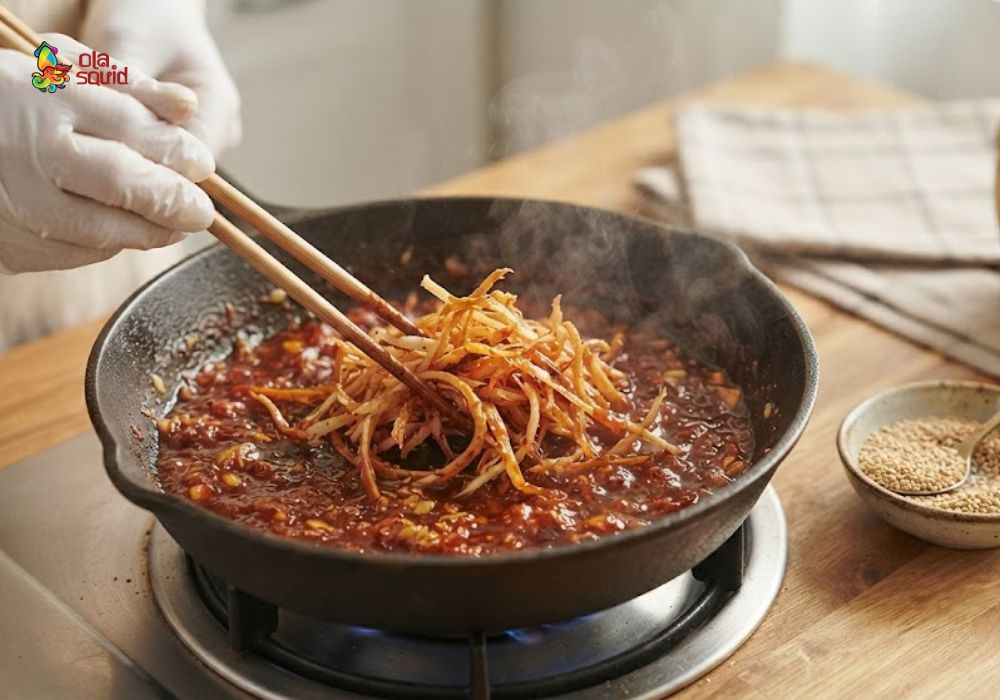
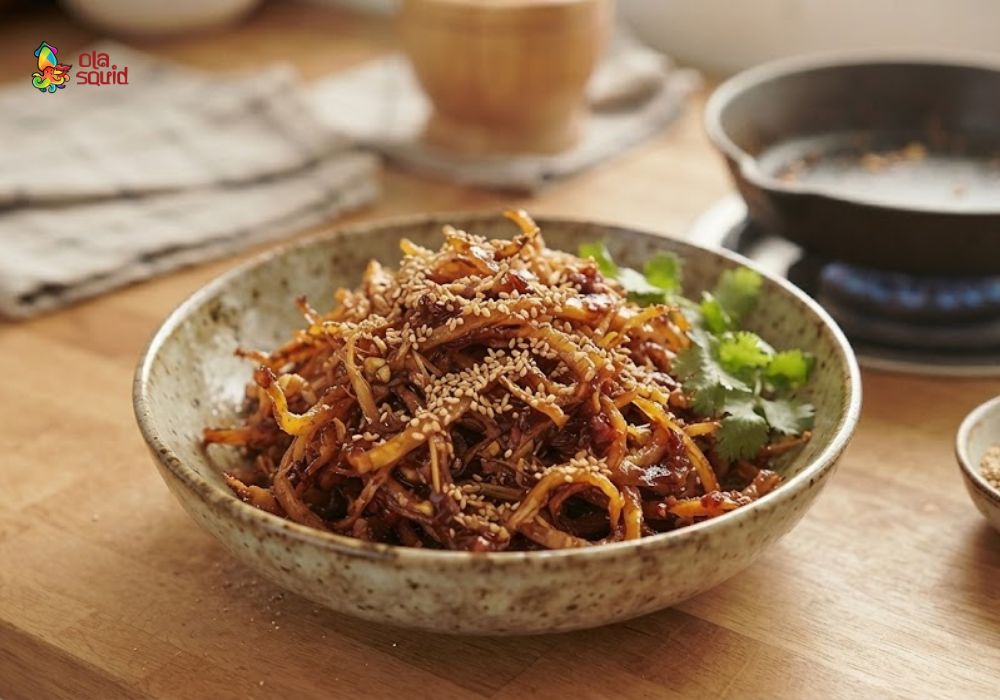
Finally, sprinkle a little roasted sesame seeds to enhance the nutty flavor and create a fragrant aroma. Let the squid cool down slightly before enjoying, at which point the sauce will adhere better and the flavor will also be richer.
See more: What delicious dishes can be made from dried squid? Top 16 easy homemade dishes
Tips to Make Shredded Dried Squid Delicious Without Being Tough or Hard
To help shredded dried squid maintain its tender chewiness, deliciousness, and absorb seasonings well, you should note a few points during the preparation process:
- Do not over-roast the squid: Just roast until the squid is fragrant and slightly soft. Over-roasting will cause the squid to lose water, becoming dry, hard, and difficult to shred.
- Season little by little: You should mix the sauce in small amounts, tasting and adjusting gradually instead of adding all seasonings at once. This method makes it easy to balance salty, sweet, and spicy flavors.
- Shred squid while warm: After roasting and gently pounding, squid should be shredded immediately while still warm so that the meat fibers loosen better, resulting in longer and nicer strands.
- Do not stir-fry squid too long: When mixing with sauce, only stir until seasonings coat evenly. Cooking too long will make squid strands lose water and become tougher.
- Let squid cool before boxing: After preparation, let the squid cool completely before placing it in an airtight container. This helps limit moisture buildup, which causes the dish to turn damp quickly.
How to Store Shredded Dried Squid for a Long Time
Shredded dried squid after saucing has undergone processing, so it has a higher moisture content than original dried squid. Therefore, proper storage will help the dish maintain its flavor and limit mold formation.
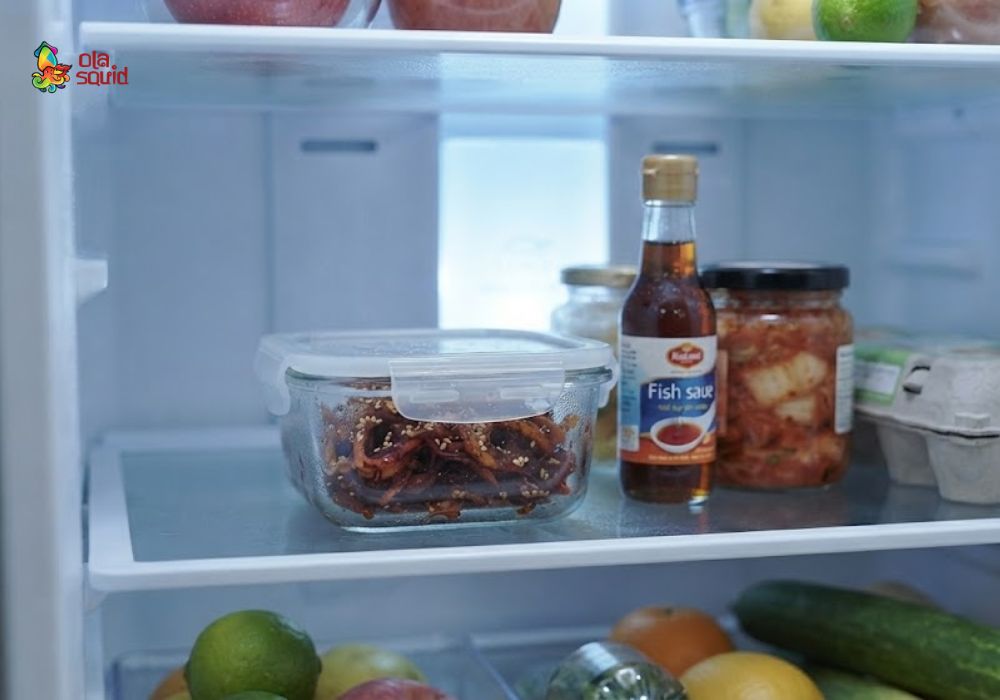
After the squid cools completely, put it into an airtight container or ziplock bag, press out excess air, and seal tightly. If not used immediately, you should store it in the refrigerator compartment and take out a sufficient amount for each serving.
Before eating, check the smell, color, and surface of the squid. If the squid develops a sour smell, strange odor, sliminess, or mold, you should not continue using it. For home-marinated sauced squid, it is best to make an amount suitable for short-term consumption rather than storing it for too long.
Frequently Asked Questions When Making Shredded Dried Squid
How long does shredded dried squid keep?
Seasoned shredded dried squid should be stored in an airtight container and kept in the refrigerator compartment if not completely consumed. The actual shelf life depends on the dryness of the product, the amount of sauce, and storage conditions. It is best to make a sufficient amount to eat within a few days and check the smell and color before consuming.
How many calories are in shredded dried squid?
The calorie count of shredded dried squid is not fixed because it depends on the type of squid, weight used, and marinade recipe. Dried squid itself has a more concentrated nutritional content than fresh squid since most water has been removed. When cooked with sugar, oil, chili sauce, or other sauces, the total energy of the dish will increase. If you are controlling your calorie intake, you can reduce sugar, oil, and sauces in the recipe, while consuming moderate portions.
Can you make shredded dried squid using an air fryer?
The answer is yes. You can use an air fryer to heat and roast dried squid instead of a charcoal stove or pan. You should place the squid in the air fryer, select a temperature of about 160-180°C, and roast for a short time, checking frequently to avoid making the squid dry and hard. After the squid just releases a fragrant aroma and becomes slightly soft, take it out, pound it loose, and shred it into strands. Then, proceed with mixing the sauce and tossing with seasonings following the same recipe above.
See now: How to roast dried squid using an air fryer
Above is how to make shredded dried squid at home with simple steps from selecting squid, roasting, shredding, to saucing. As long as you control the temperature while roasting, shred the squid while warm, and adjust seasonings appropriately, you can prepare a chewily fragrant, rich snack according to your family’s taste. If you want to buy quality dried squid, contact Ola Squid immediately to get advice on products suitable for your enjoyment and homemade cooking needs!